Split Casting - Closer Replacement
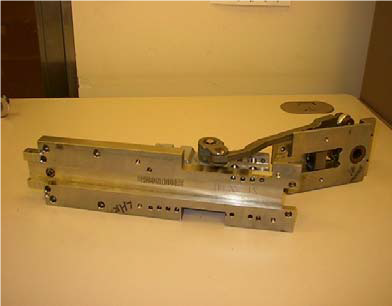
On occasion, it may be necessary to replace the L.C.N. closer located in the door header. This can be done without removing the door from the frame. The following steps display how to remove and replace the closer half of the header mechanism.
Step #1
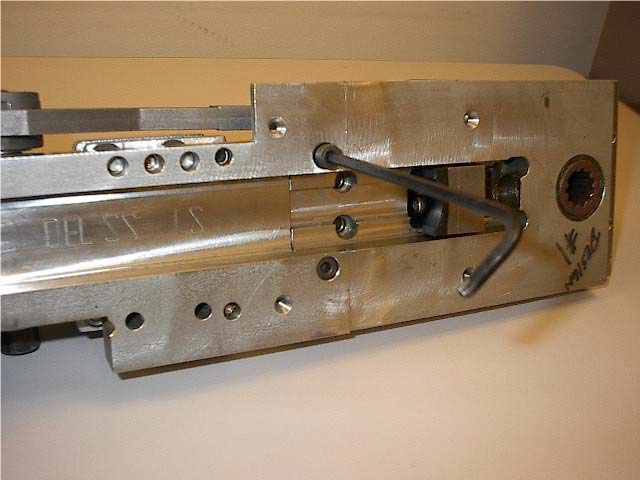
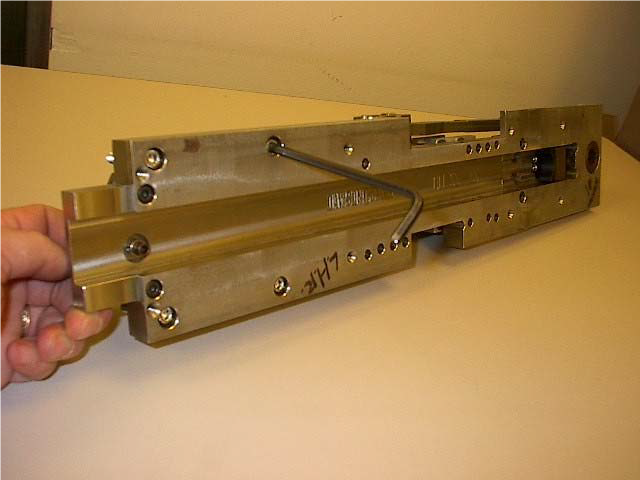
Open the door to 90° and close the swing speed (SS) valve by turning clockwise. This will hold the door in the open position. Remove the four (4) ¼”-20 socket head bolts with a 3/16” hex wrench.
Step #2
Remove the two (2) guide studs with a 5/32” hex wrench. Once these two studs are removed, the closer half of the header block can be lowered from the cutout.
Note: At this point, the header assembly will be held together by the check bar.
Step #3
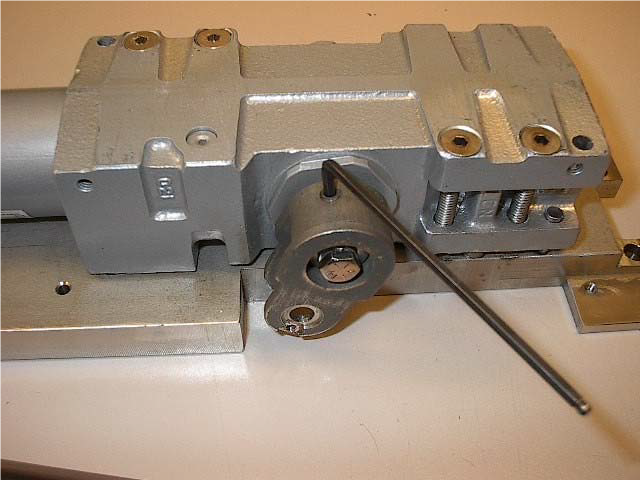
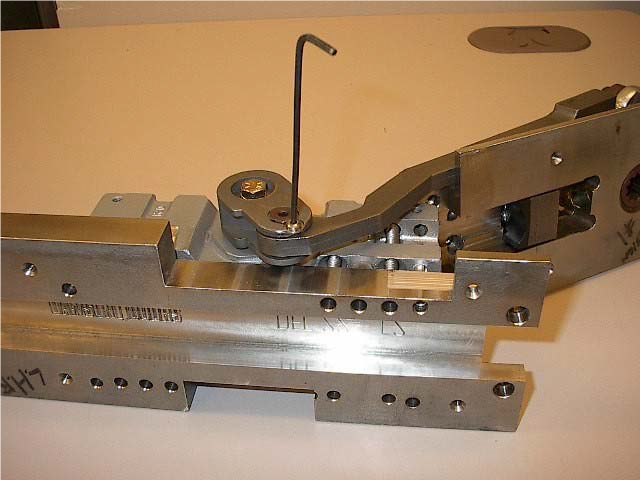
With the closer half of the header block lowered, remove the check locking stud and washer with a 3/32” Allen wrench.
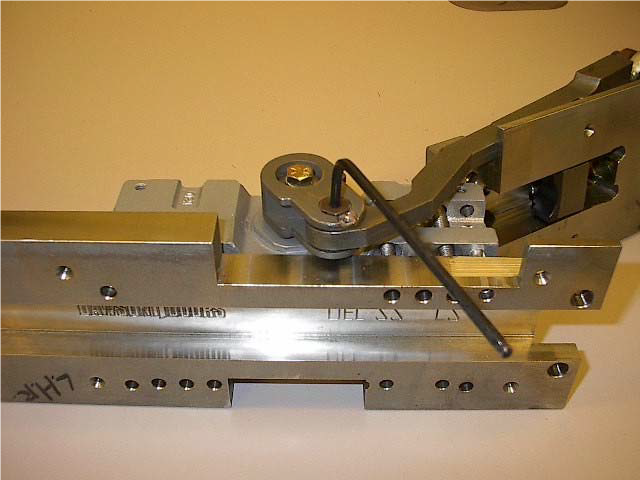
Step #4
With the closer half of the header block lowered, remove the check stud with a 5/32” Allen wrench.
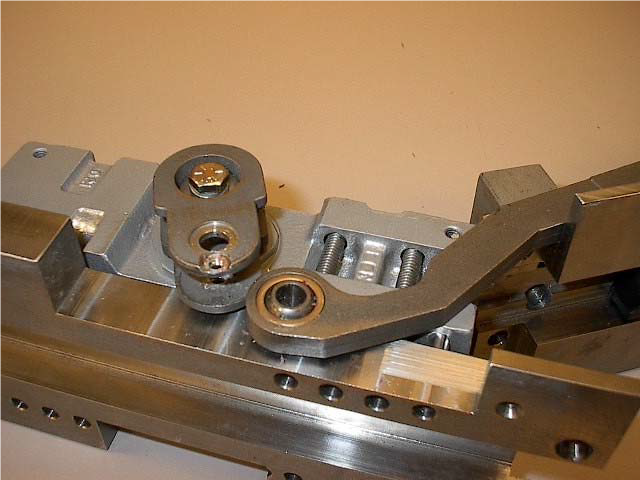
Step #5
With the check stud removed, slide the check bar out of the check arm assembly. This will allow the closer half to be removed for the closer exchange.
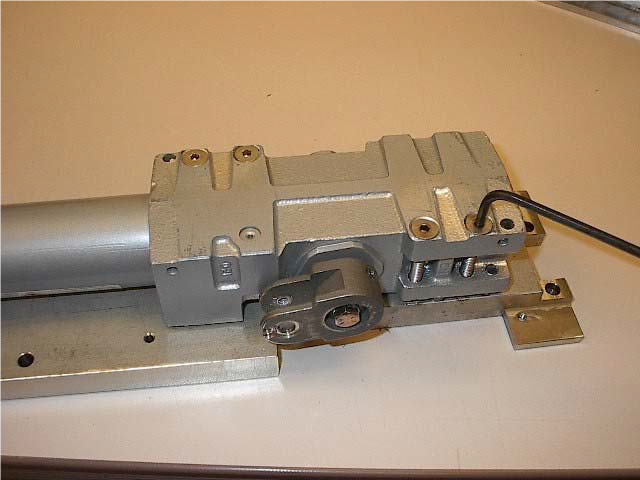
Step #6
Remove the four (4) ¼” -20 flat head bolts that hold the closer to the header guide block.
Step #7
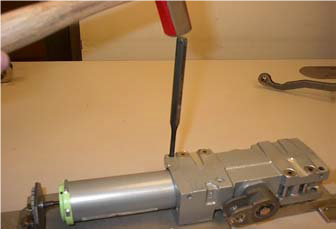
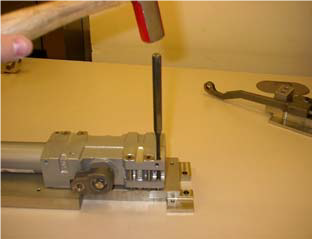
Using a ¼” punch and hammer, remove the two spring pins that align closer with the header guide block.
Step #8
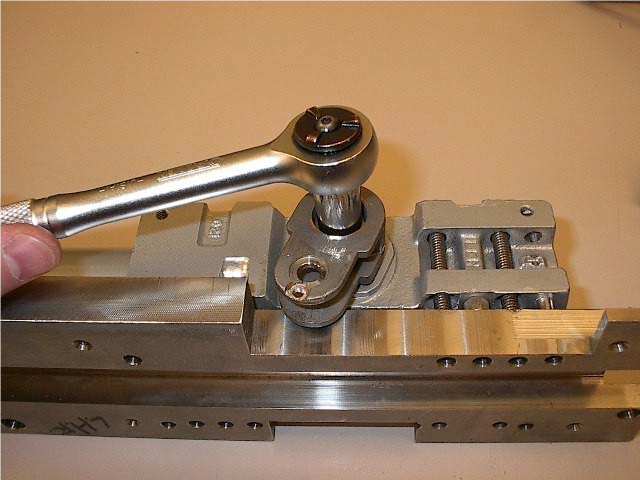
Remove the check arm bolt and washers with an 11mm socket.
